In this guide, you will learn how to add a user to your website using the Net engine application. Follow the steps below to successfully create a new user account with the necessary permissions.
Go to app.netengine.co
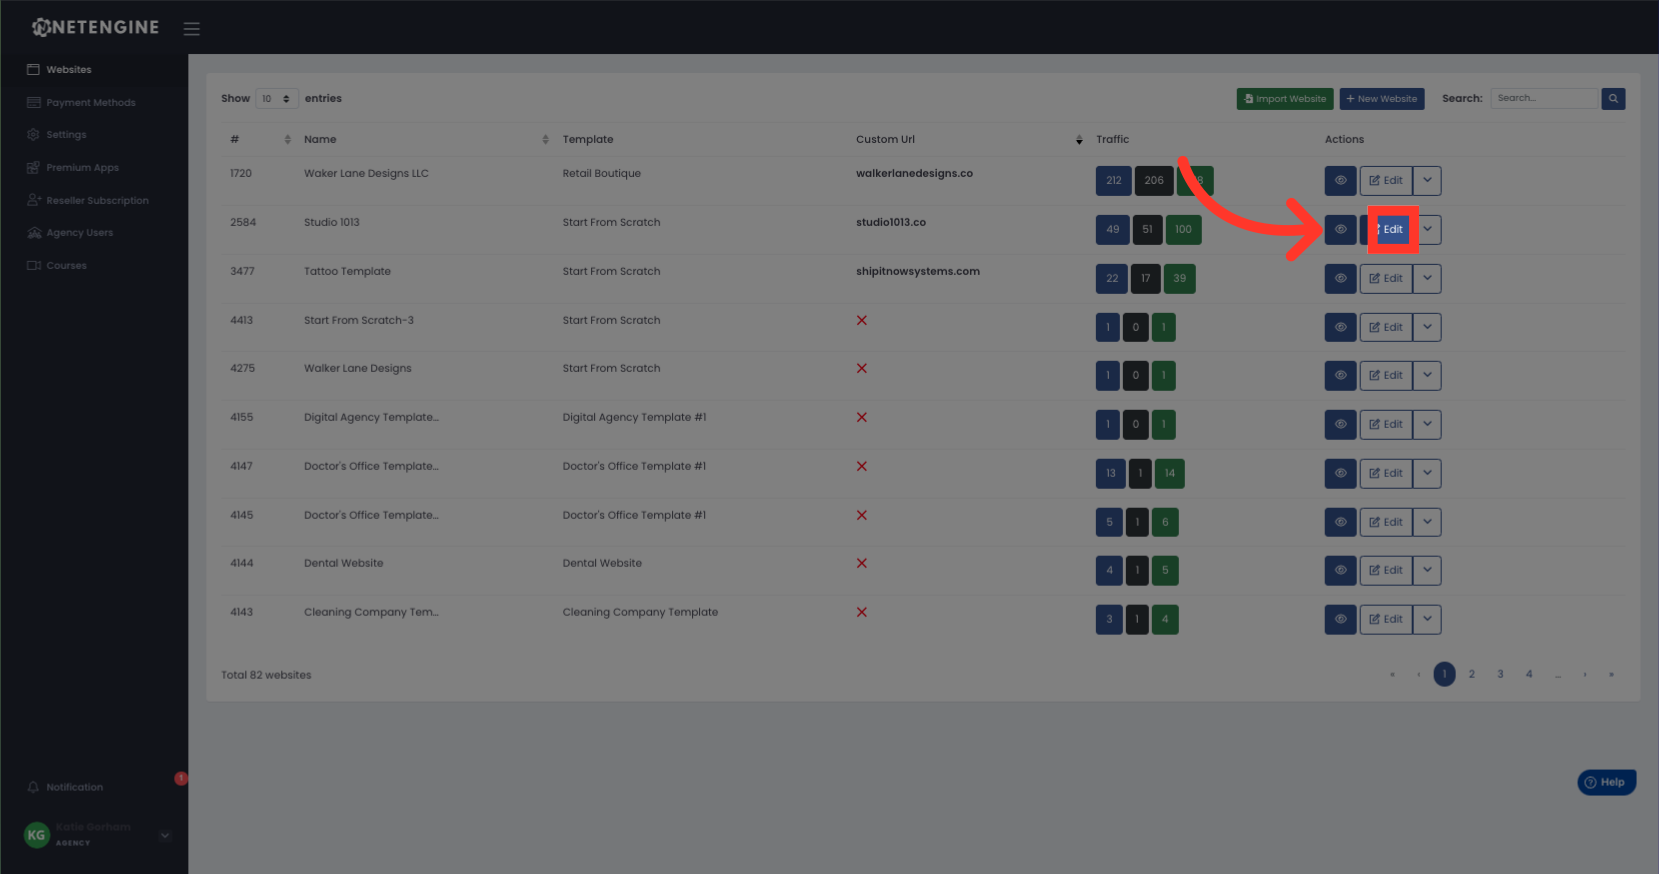
1. Click "Edit" on the website that you want to add the user too.
Click the "Edit" button.
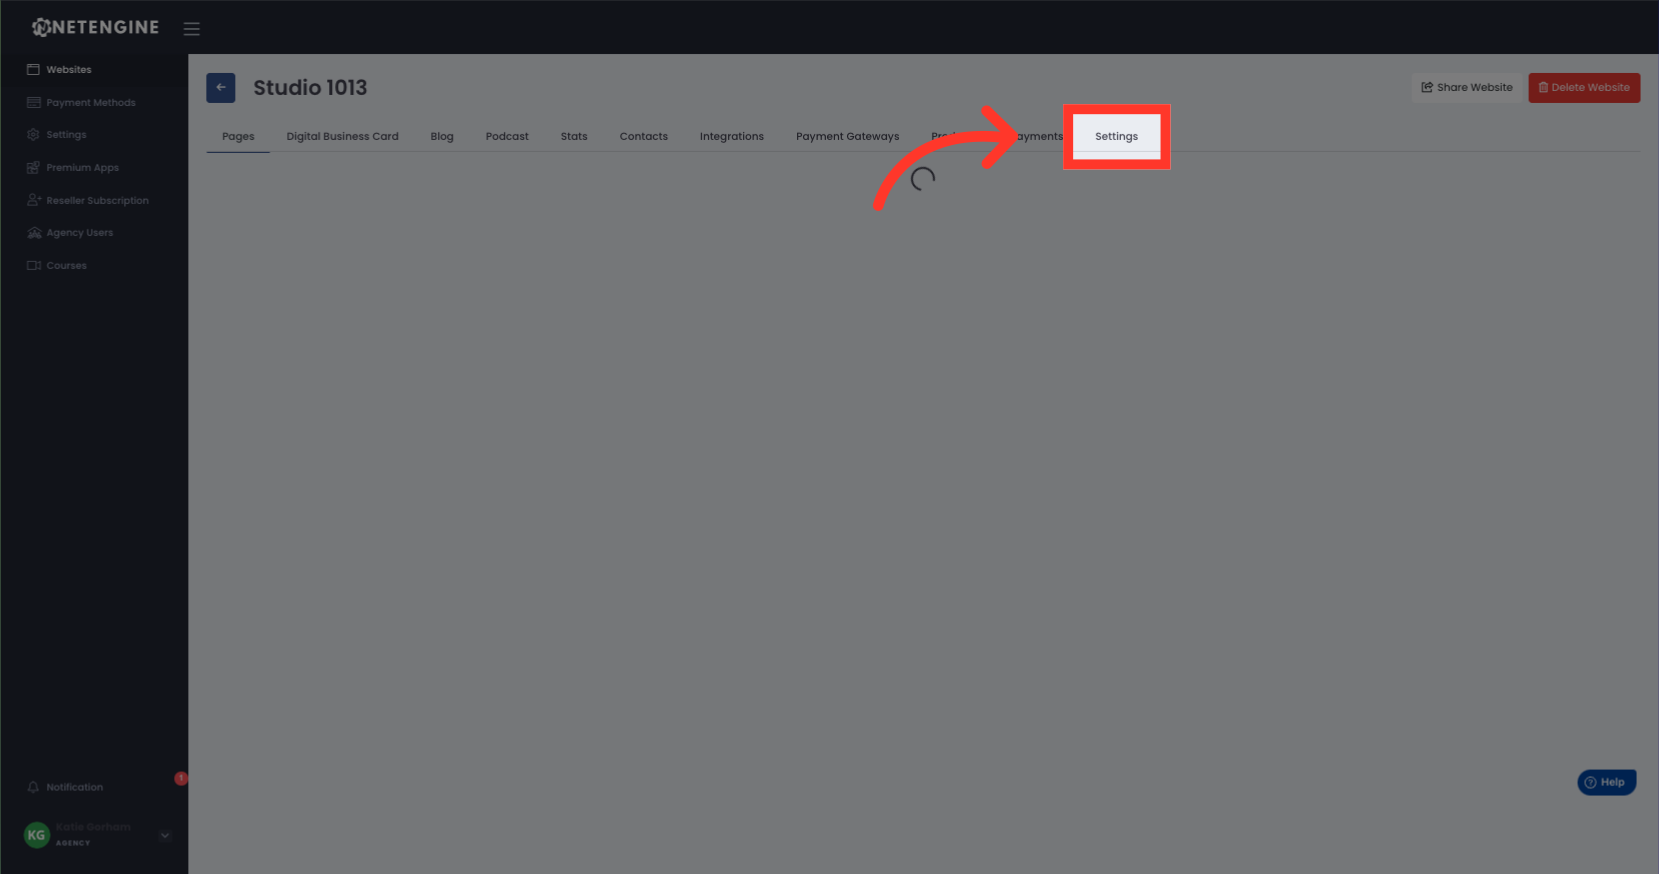
2. Click "Settings"
Click the "Settings" button.
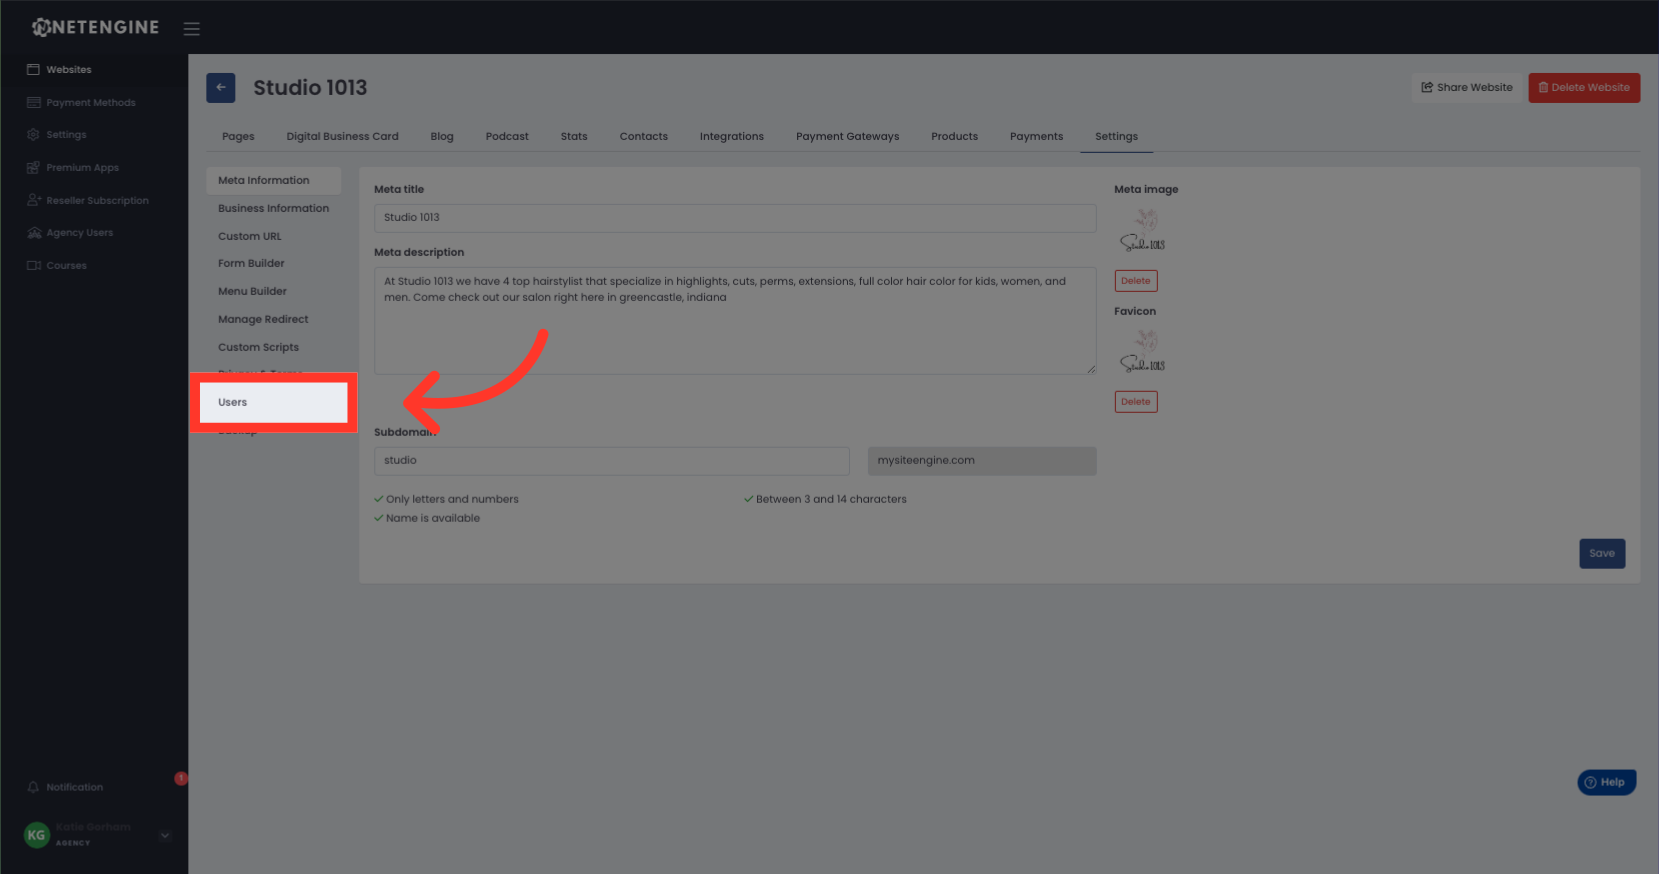
3. Click "Users"
Click the "Users" button.
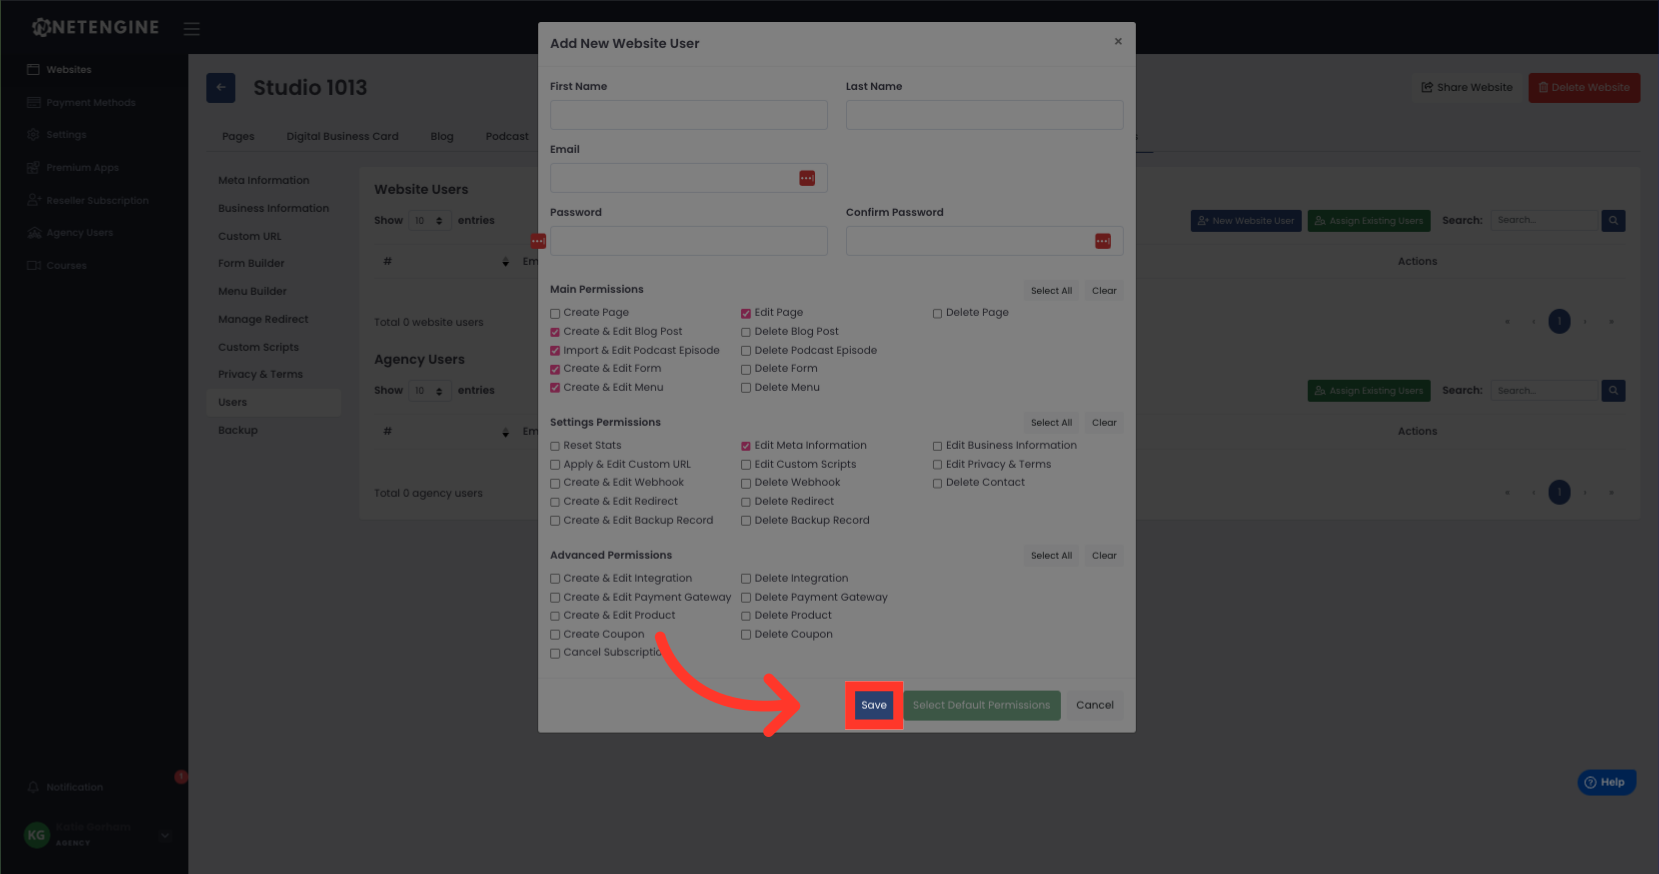
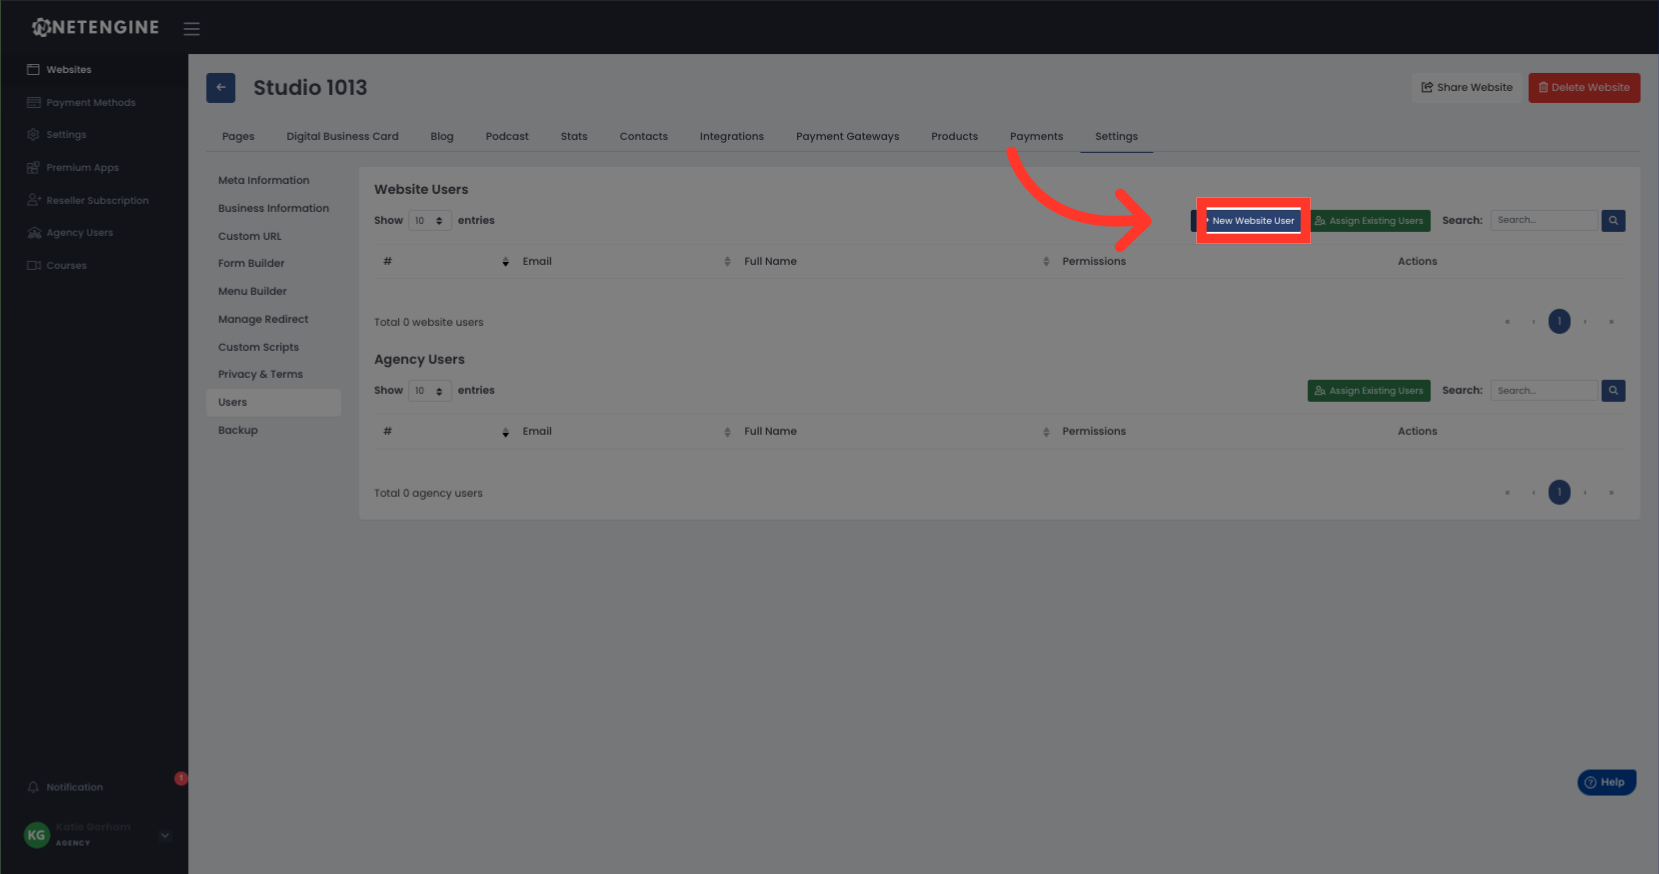
4. Click "New Website User"
Click the "New Website User" button.
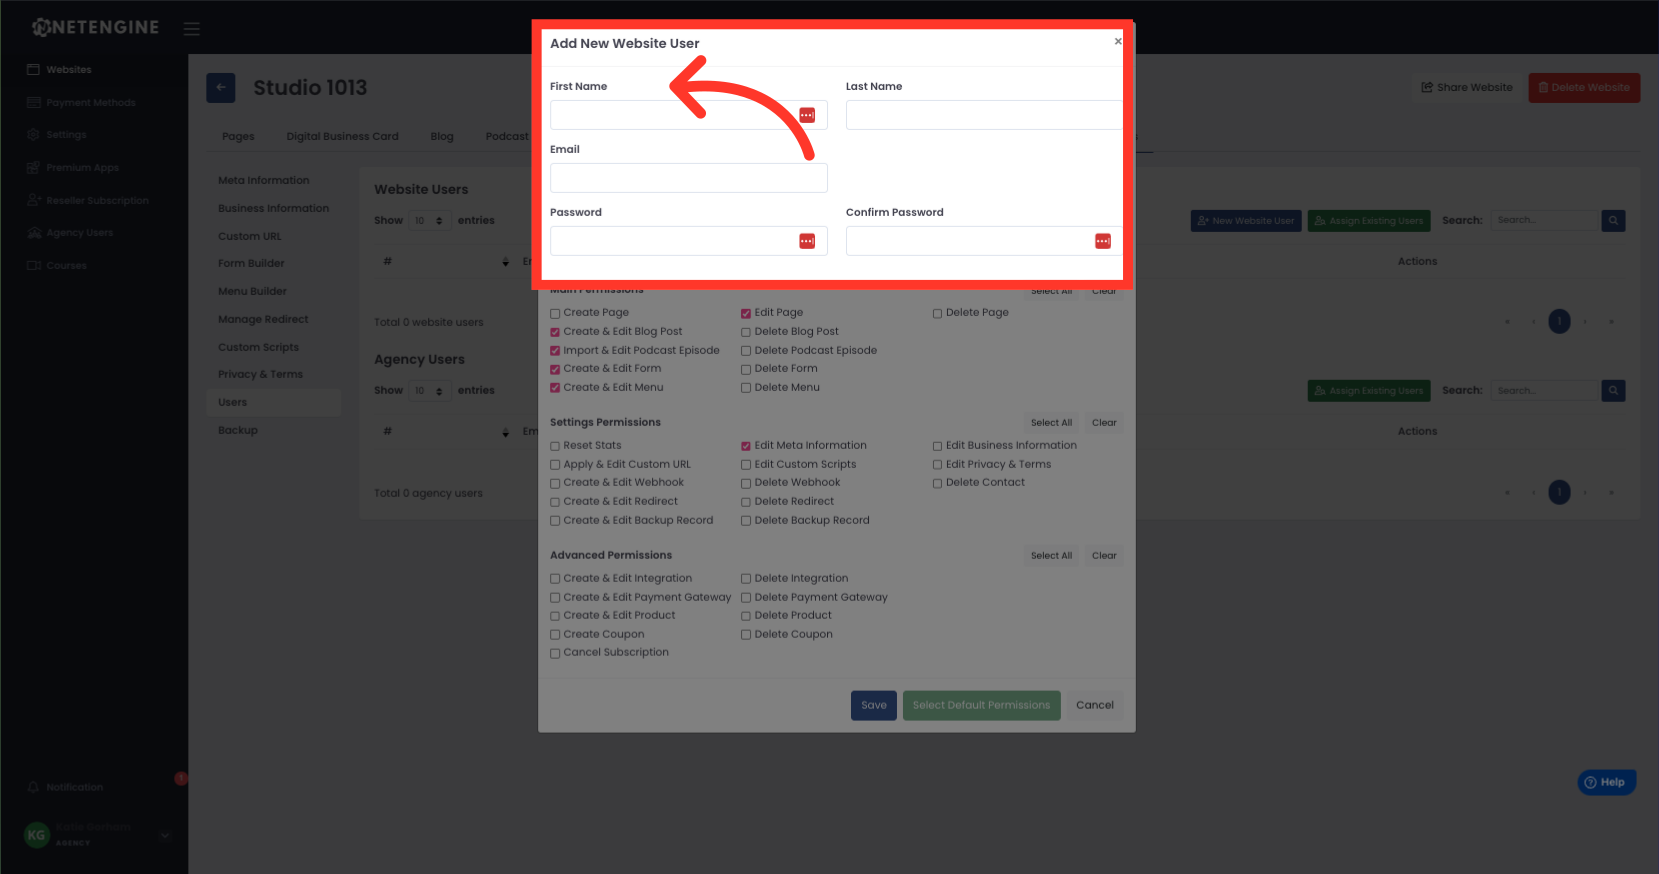
5. Add user information and set password
Enter the user's first name.
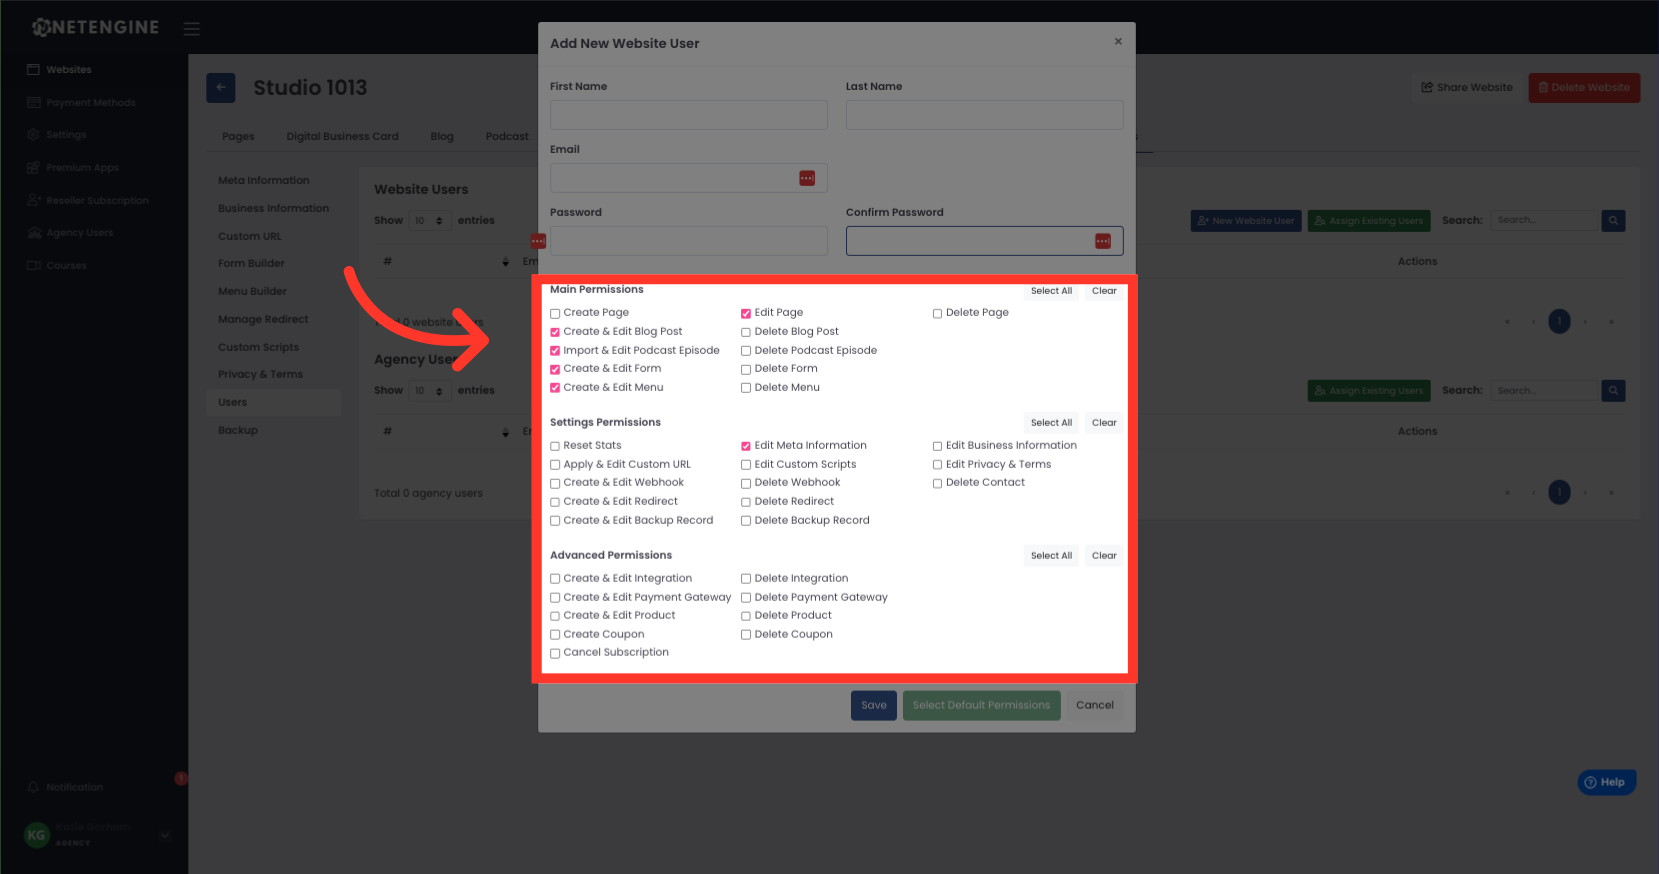
6. Choose Permissions
Select the user's main permissions.
7. Click "Save"
Click the "Save" button.